
So, how to start?
Writing my first blog entry was no easy task.
Starting my own blog was a huge task. I needed some serious persuading by friends and family to share my recipes and baking advice with the world (assuming there is even one person reading this …). Would people like what I do? Would they like my writing? Will they make fun of my word choices (I am not a native speaker you know…)? Would I get criticized for what is my most beloved pastime?
Nevertheless, I decided it was worth a shot, so here I go! Please be kind …
It is 2014! Happy New Year everyone! I bet on many new year’s resolution lists we can find things such as Eat more healthy foods (which is a great resolution!) or Eat less chocolate (which sounds impossible, but I acknowledge other people trying to). So I figured a good way to start off my blog would be with one of my more “healthy” recipes. So homemade granola bars it is (I am going to test your resolutions soon enough. I promise!).
I will share with you the basic granola bar recipe that I use a lot and give examples of mix-ins I like to use, but please feel free to swap them for whatever suits your taste buds. Pumpkin seeds and dried papaya? Go for it!
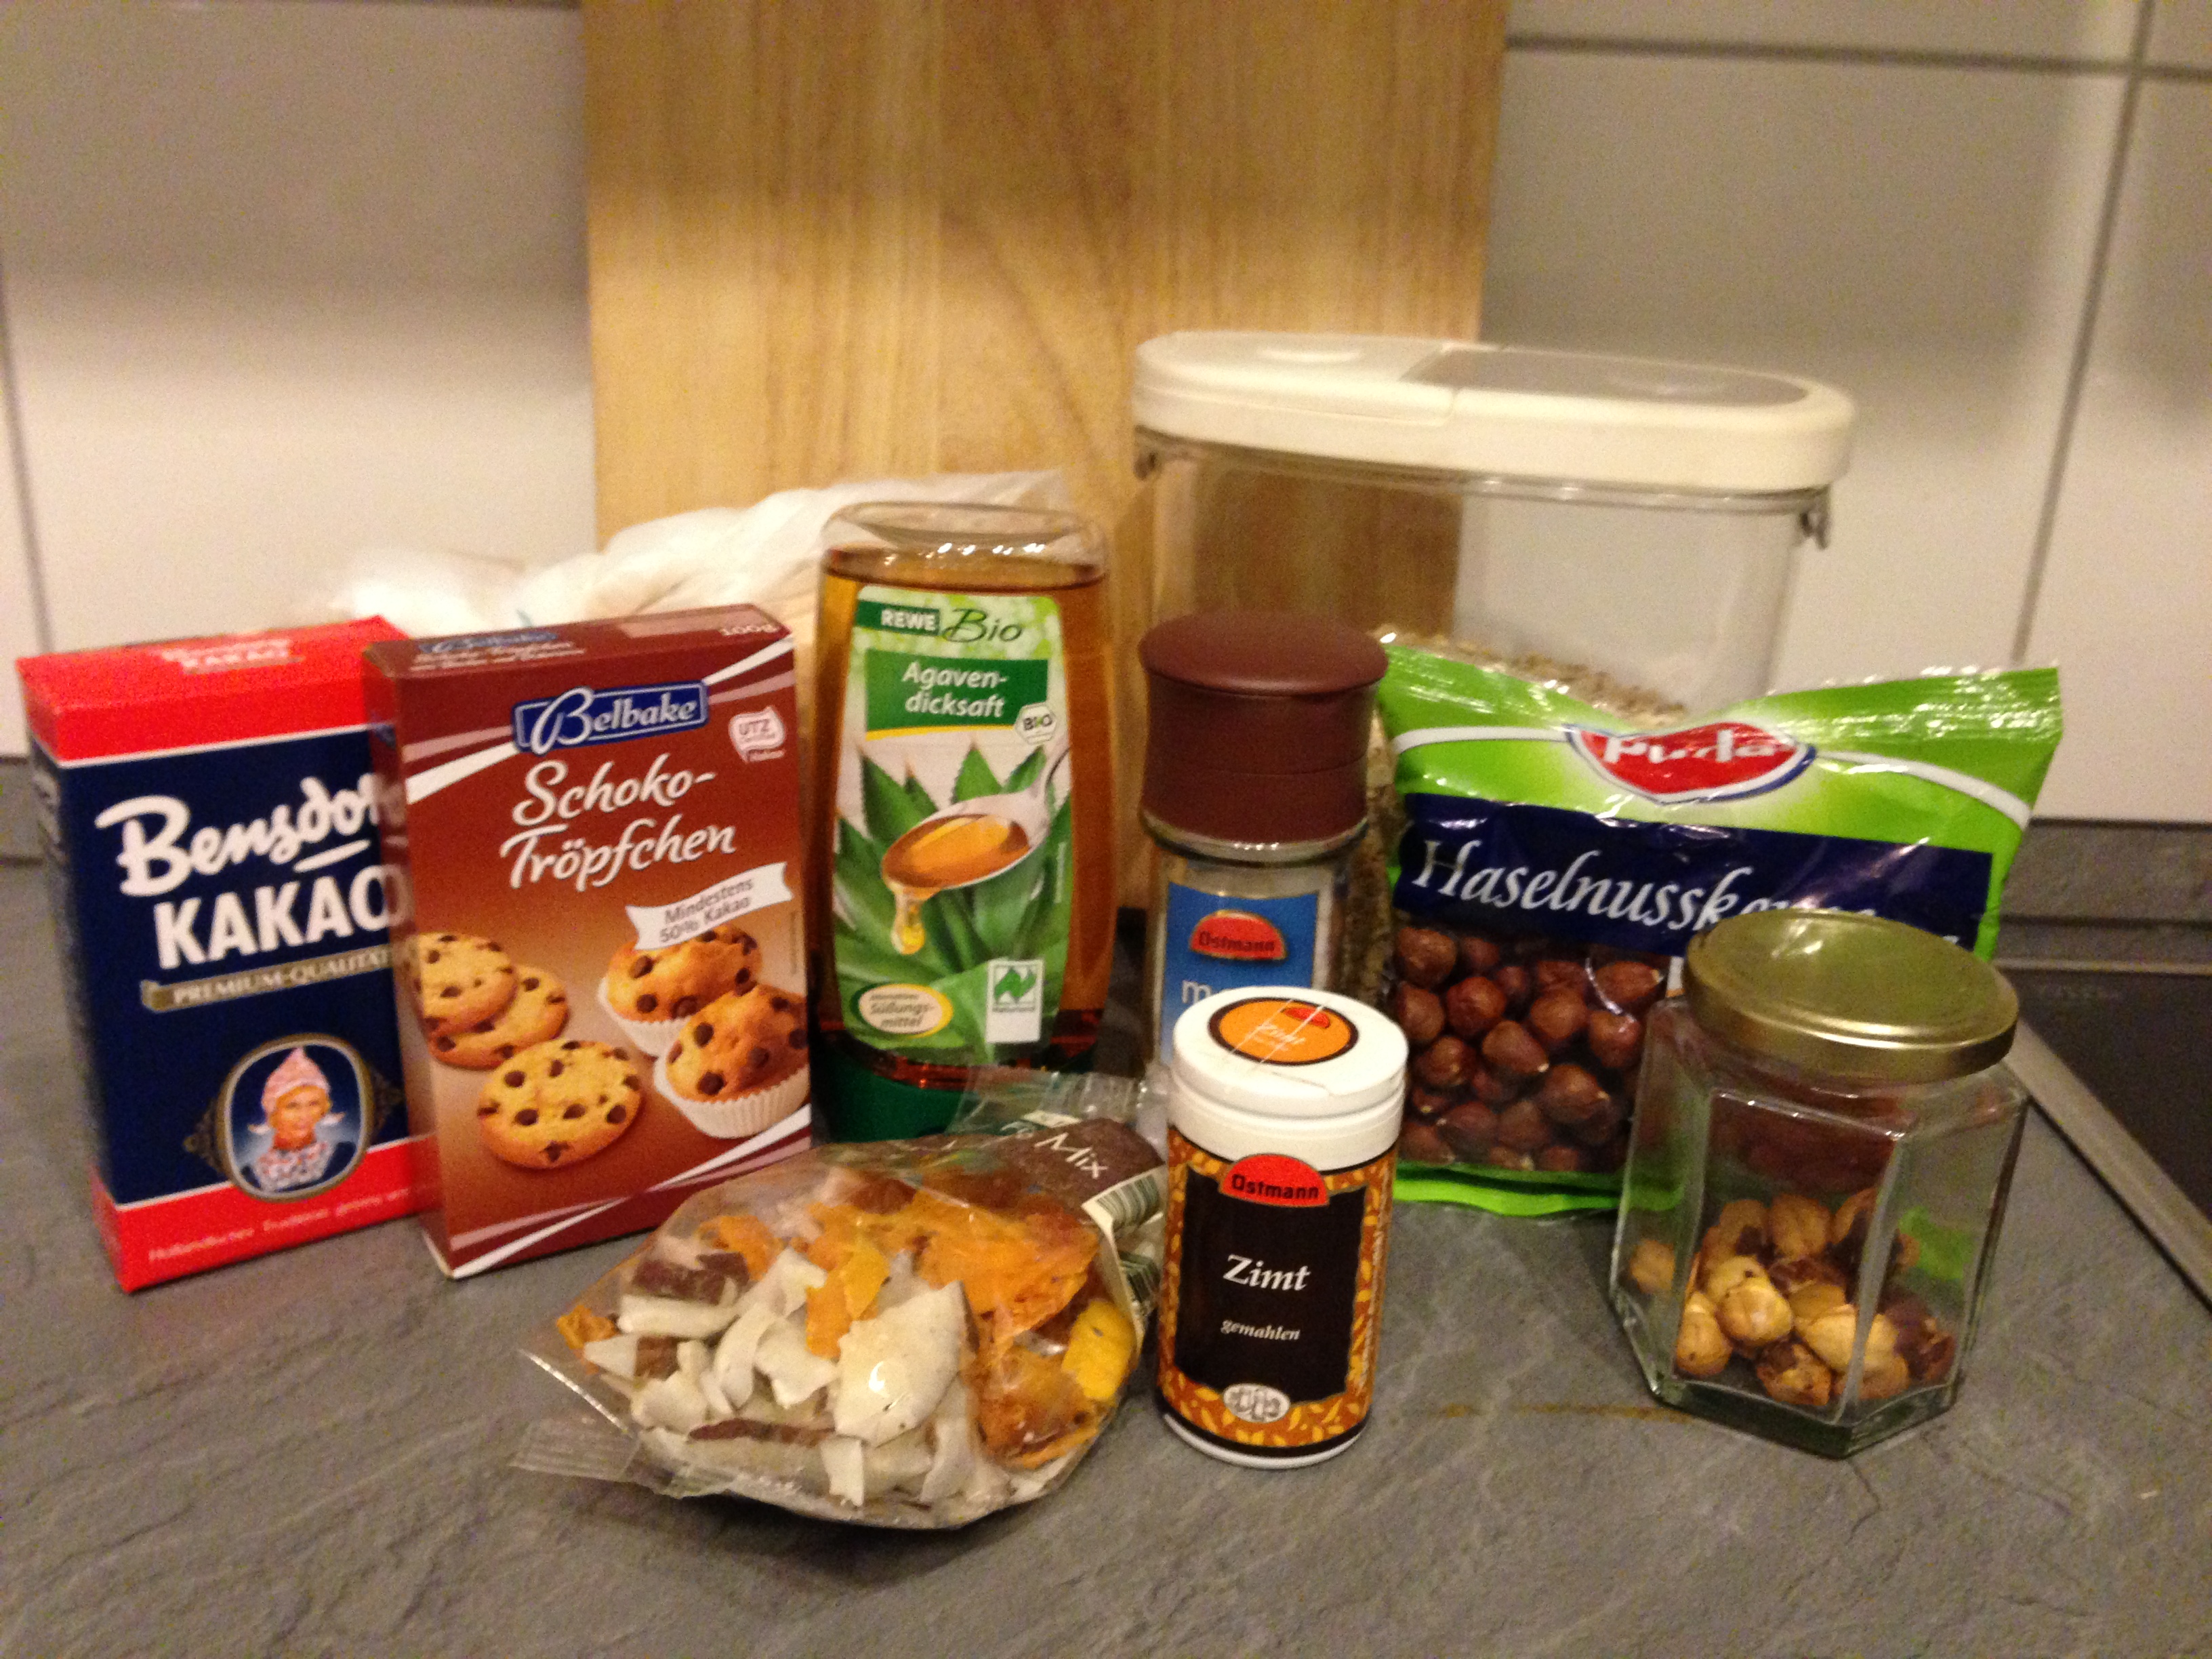
- 3 cups rolled oats
- 1 cup crispy cereal (e.g. crushed cornflakes, rice cereal, etc.)
- 1,5 cups syrup of some sort (e.g. honey, agave syrup, rice syrup, etc.)
- 2 teaspoons vanilla extract or one bag of vanilla-sugar
- ½ teaspoons salt
- 1 cup chopped toasted nuts (e.g. almonds, hazelnuts, dried coconut, etc.)
- 1 cup dried fruit (e.g. cranberries, apricots, e.tc)
- ½ cup sweets to taste (e.g. chocolate chips, M&Ms, etc.)
- 2 teaspoons spices to taste (e.g. cinnamon, gingerbread spice, etc.)
- for firmer bars: 6 tablespoons nut butter (e.g. almond or peanut butter) or 2 tablespoons cocoa powder
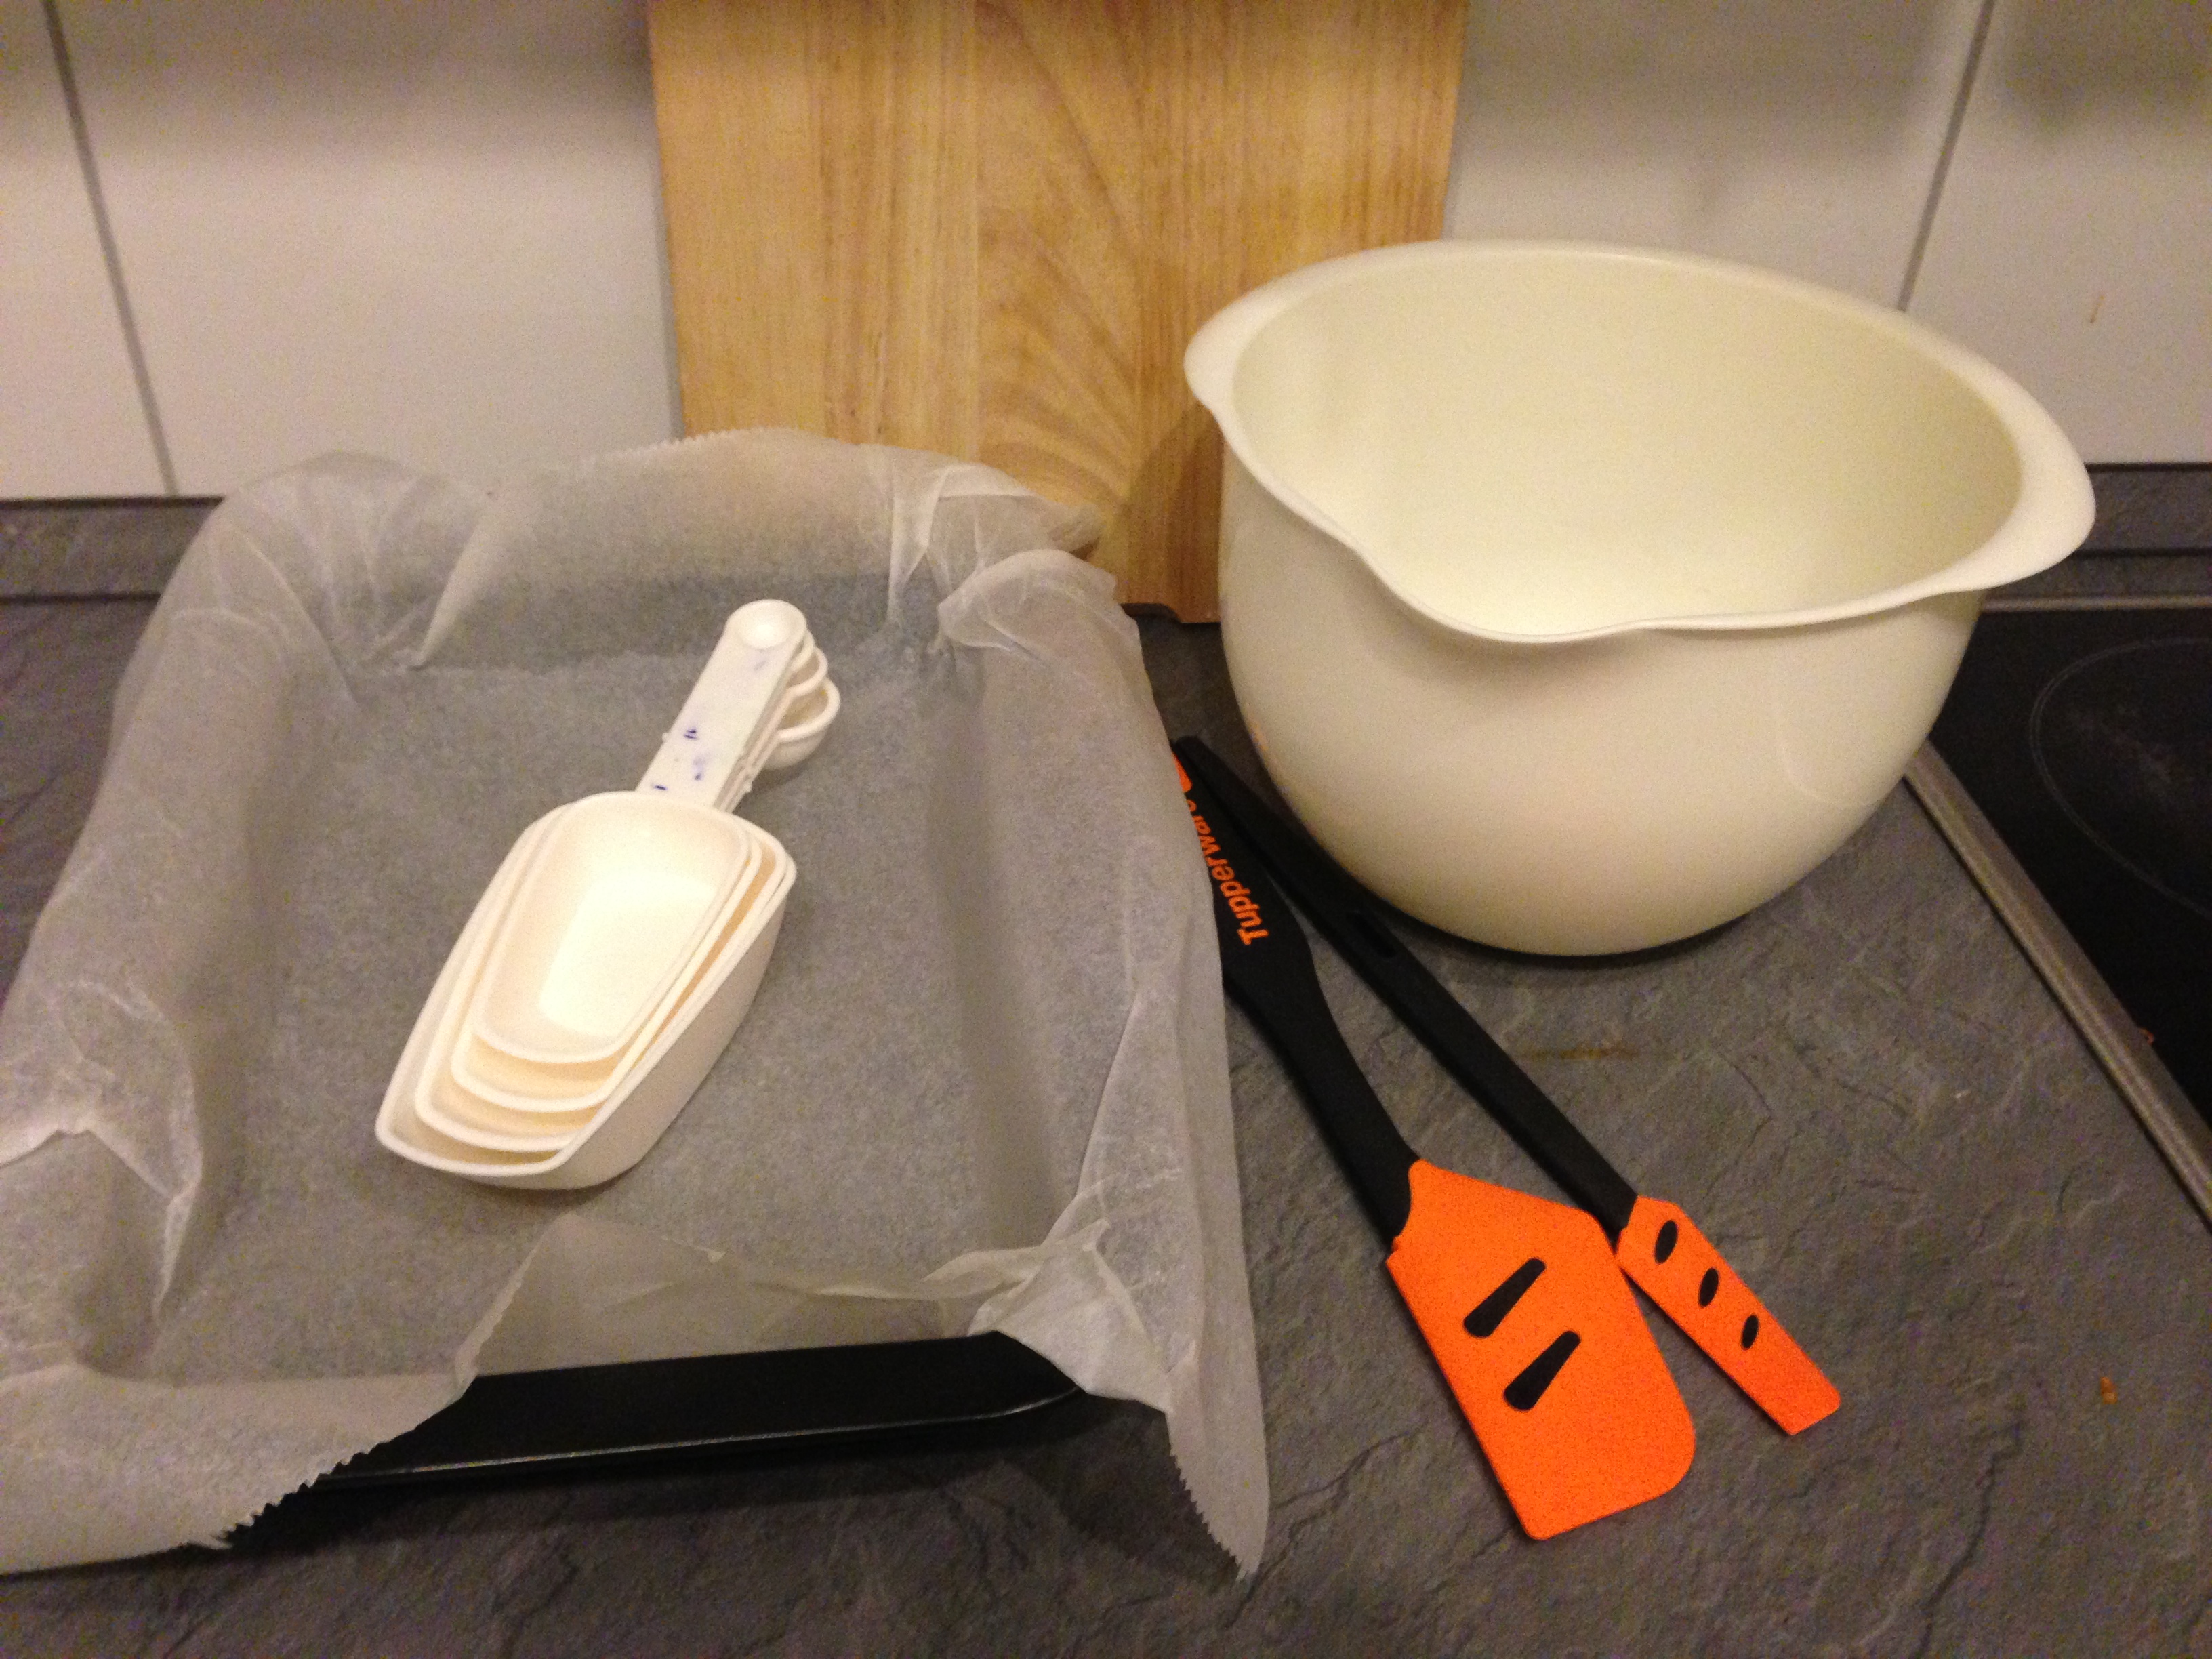
- Large mixing bowl
- Measuring cups or kitchen scale
- Spatula (I recommend one made from silicone)
- Baking pan
- Parchment paper
- Oven pre-heated to 350°F (180°C)
- Saran wrap
Step 1: Pre-heat oven to 350°F (180°C). Line a baking sheet with parchment paper and pour your nuts of choice on the baking sheet. Pop it in the oven while it is heating up to toast them until fragrant (you don’t want them to get black, because this means they are burnt … just a heads up J ), around 10 min.
Step 2: Prepare the baking pan by covering it generously with parchment paper. Let some hang over the sides, which will make lifting the bars out of the pan much easier. Press the parchment paper into the pan, it takes a while but it will ultimately take on the shape of the pan.
Step 3: Take your toasted nuts out of the oven, let cool a little and chop them roughly. Now mix all other ingredients with your chopped nuts in a large mixing bowl until all ingredients are coated with syrup and spices (this takes some arm muscle, so the bars are already healthy for you!). The mixture wont stick together very well, so don’t be alarmed!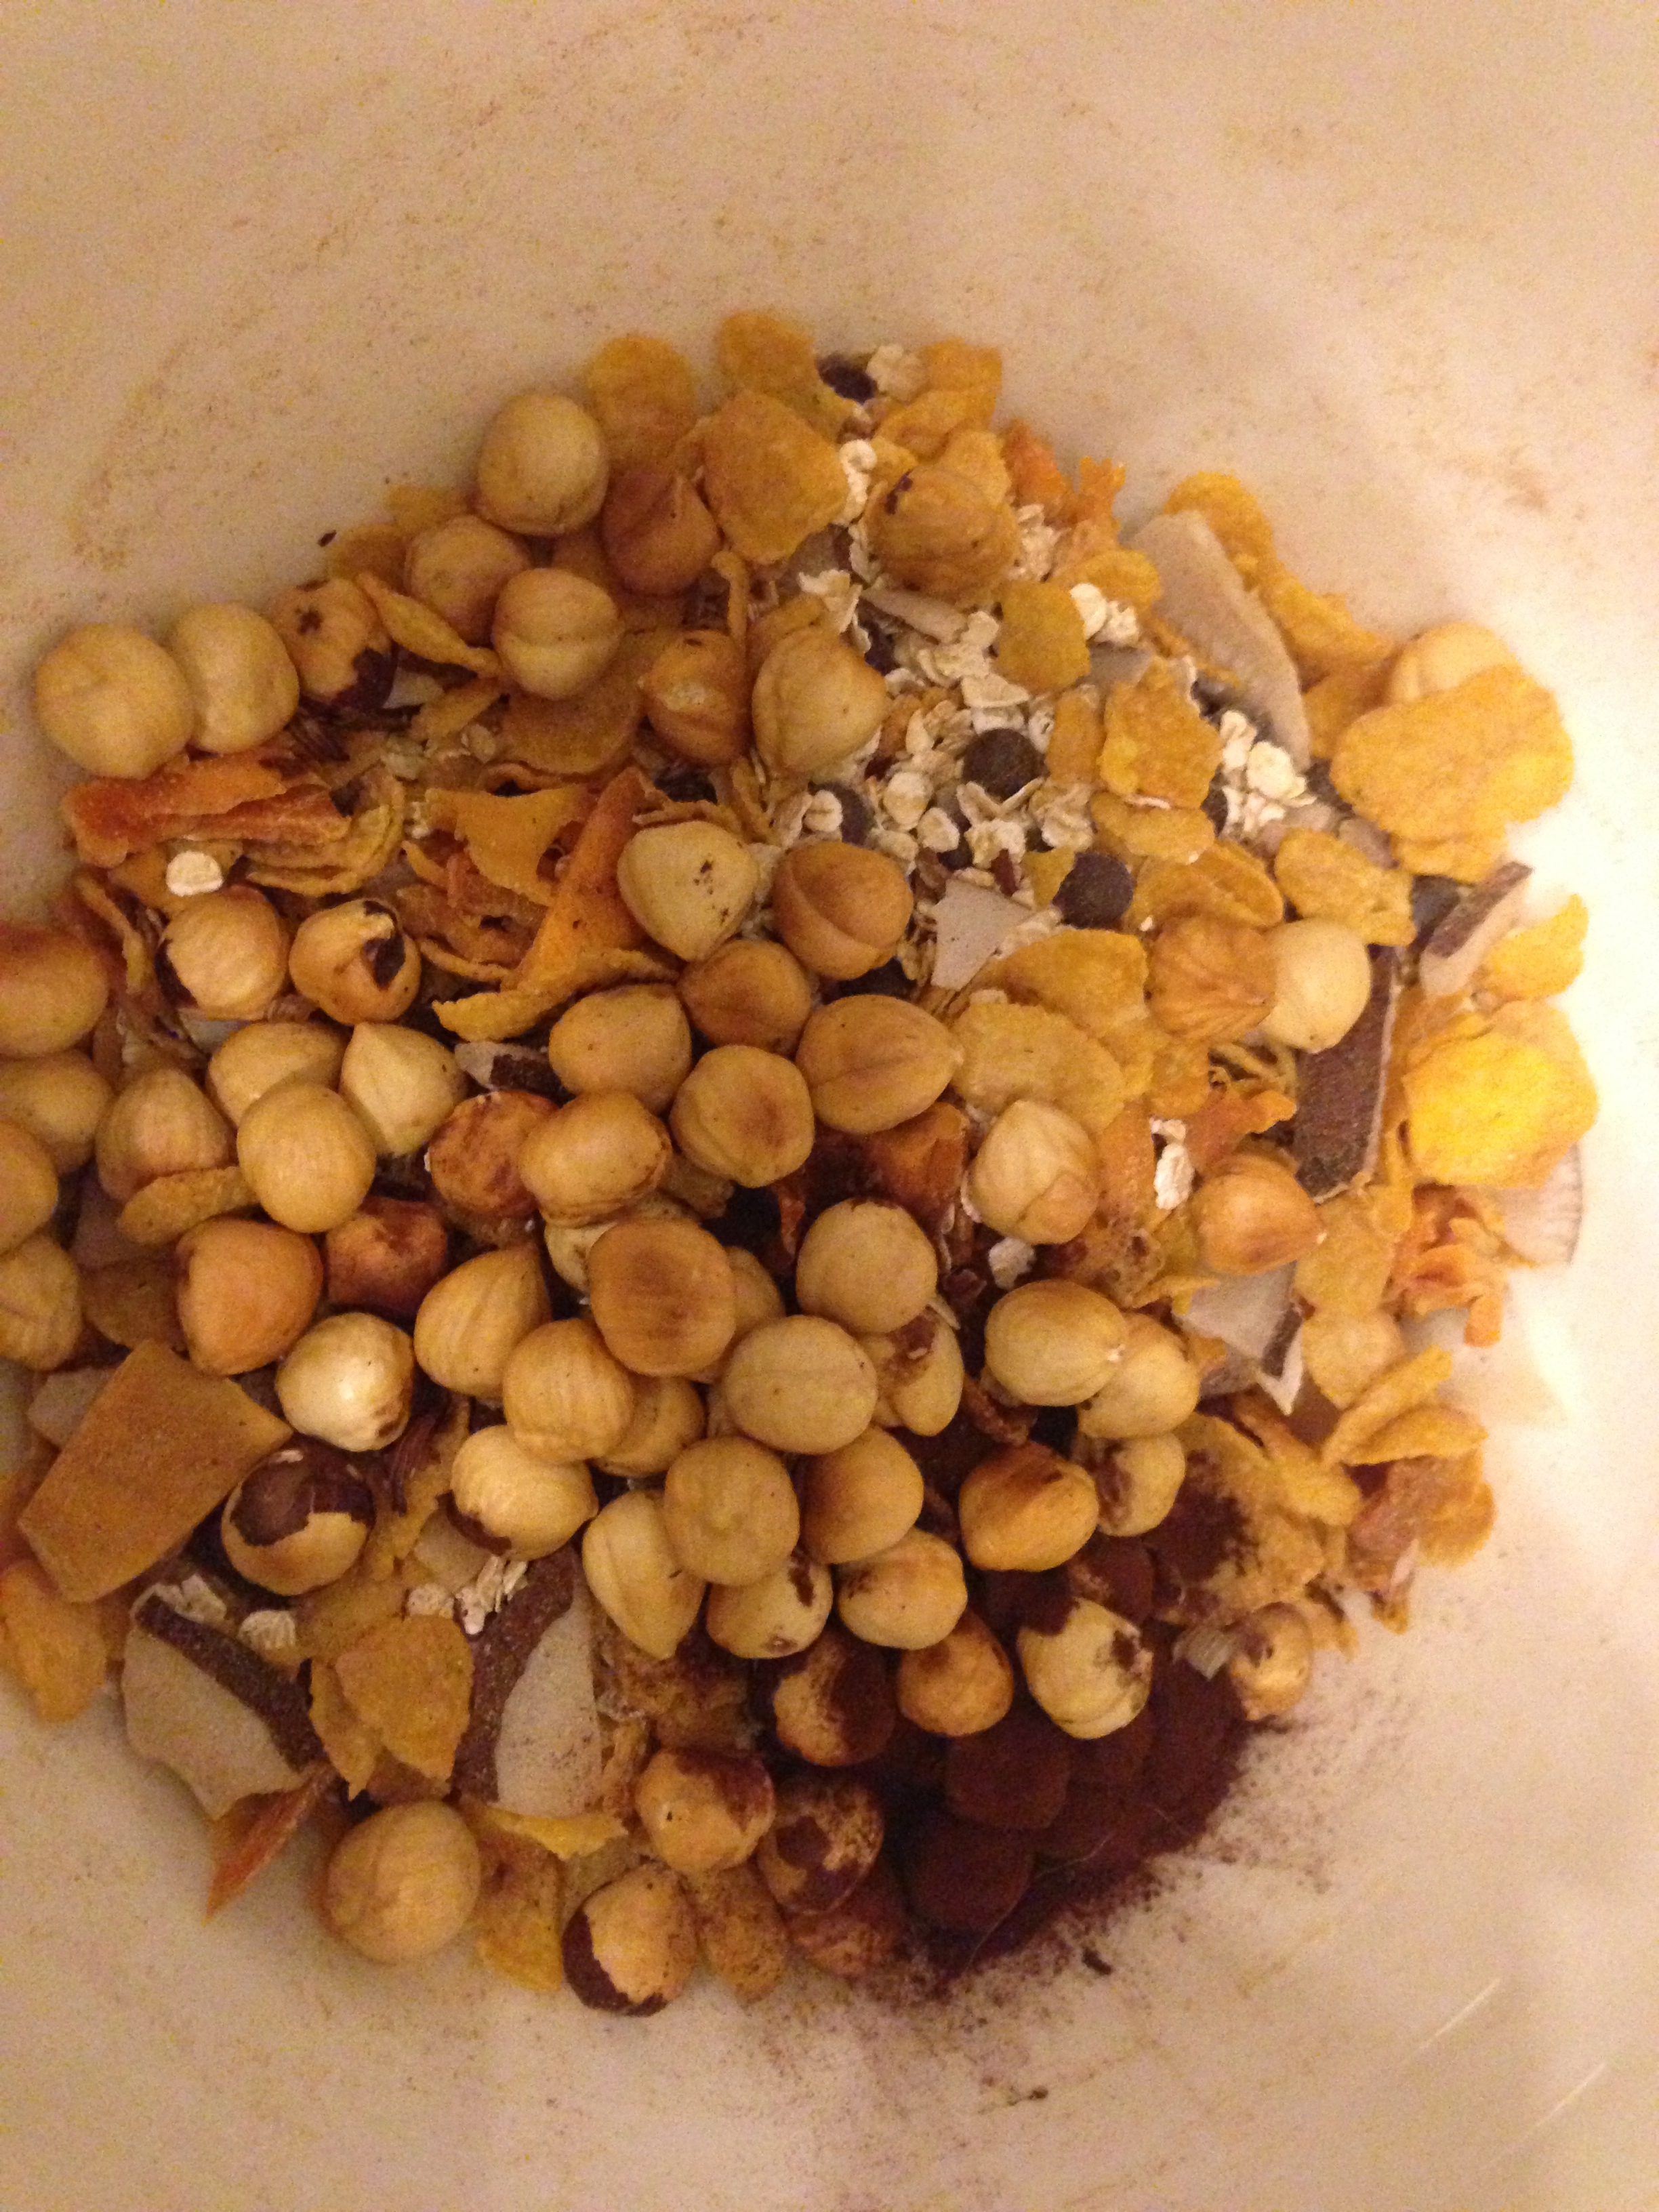
Step 4: Pour mixture in the baking pan and press down with your spatula. You want the mixture to be as compressed as possible! Put the pan in the oven and bake for around 25 min (substract 5 min if you re looking for chewy bars and add 5 min if you want crunchy bars).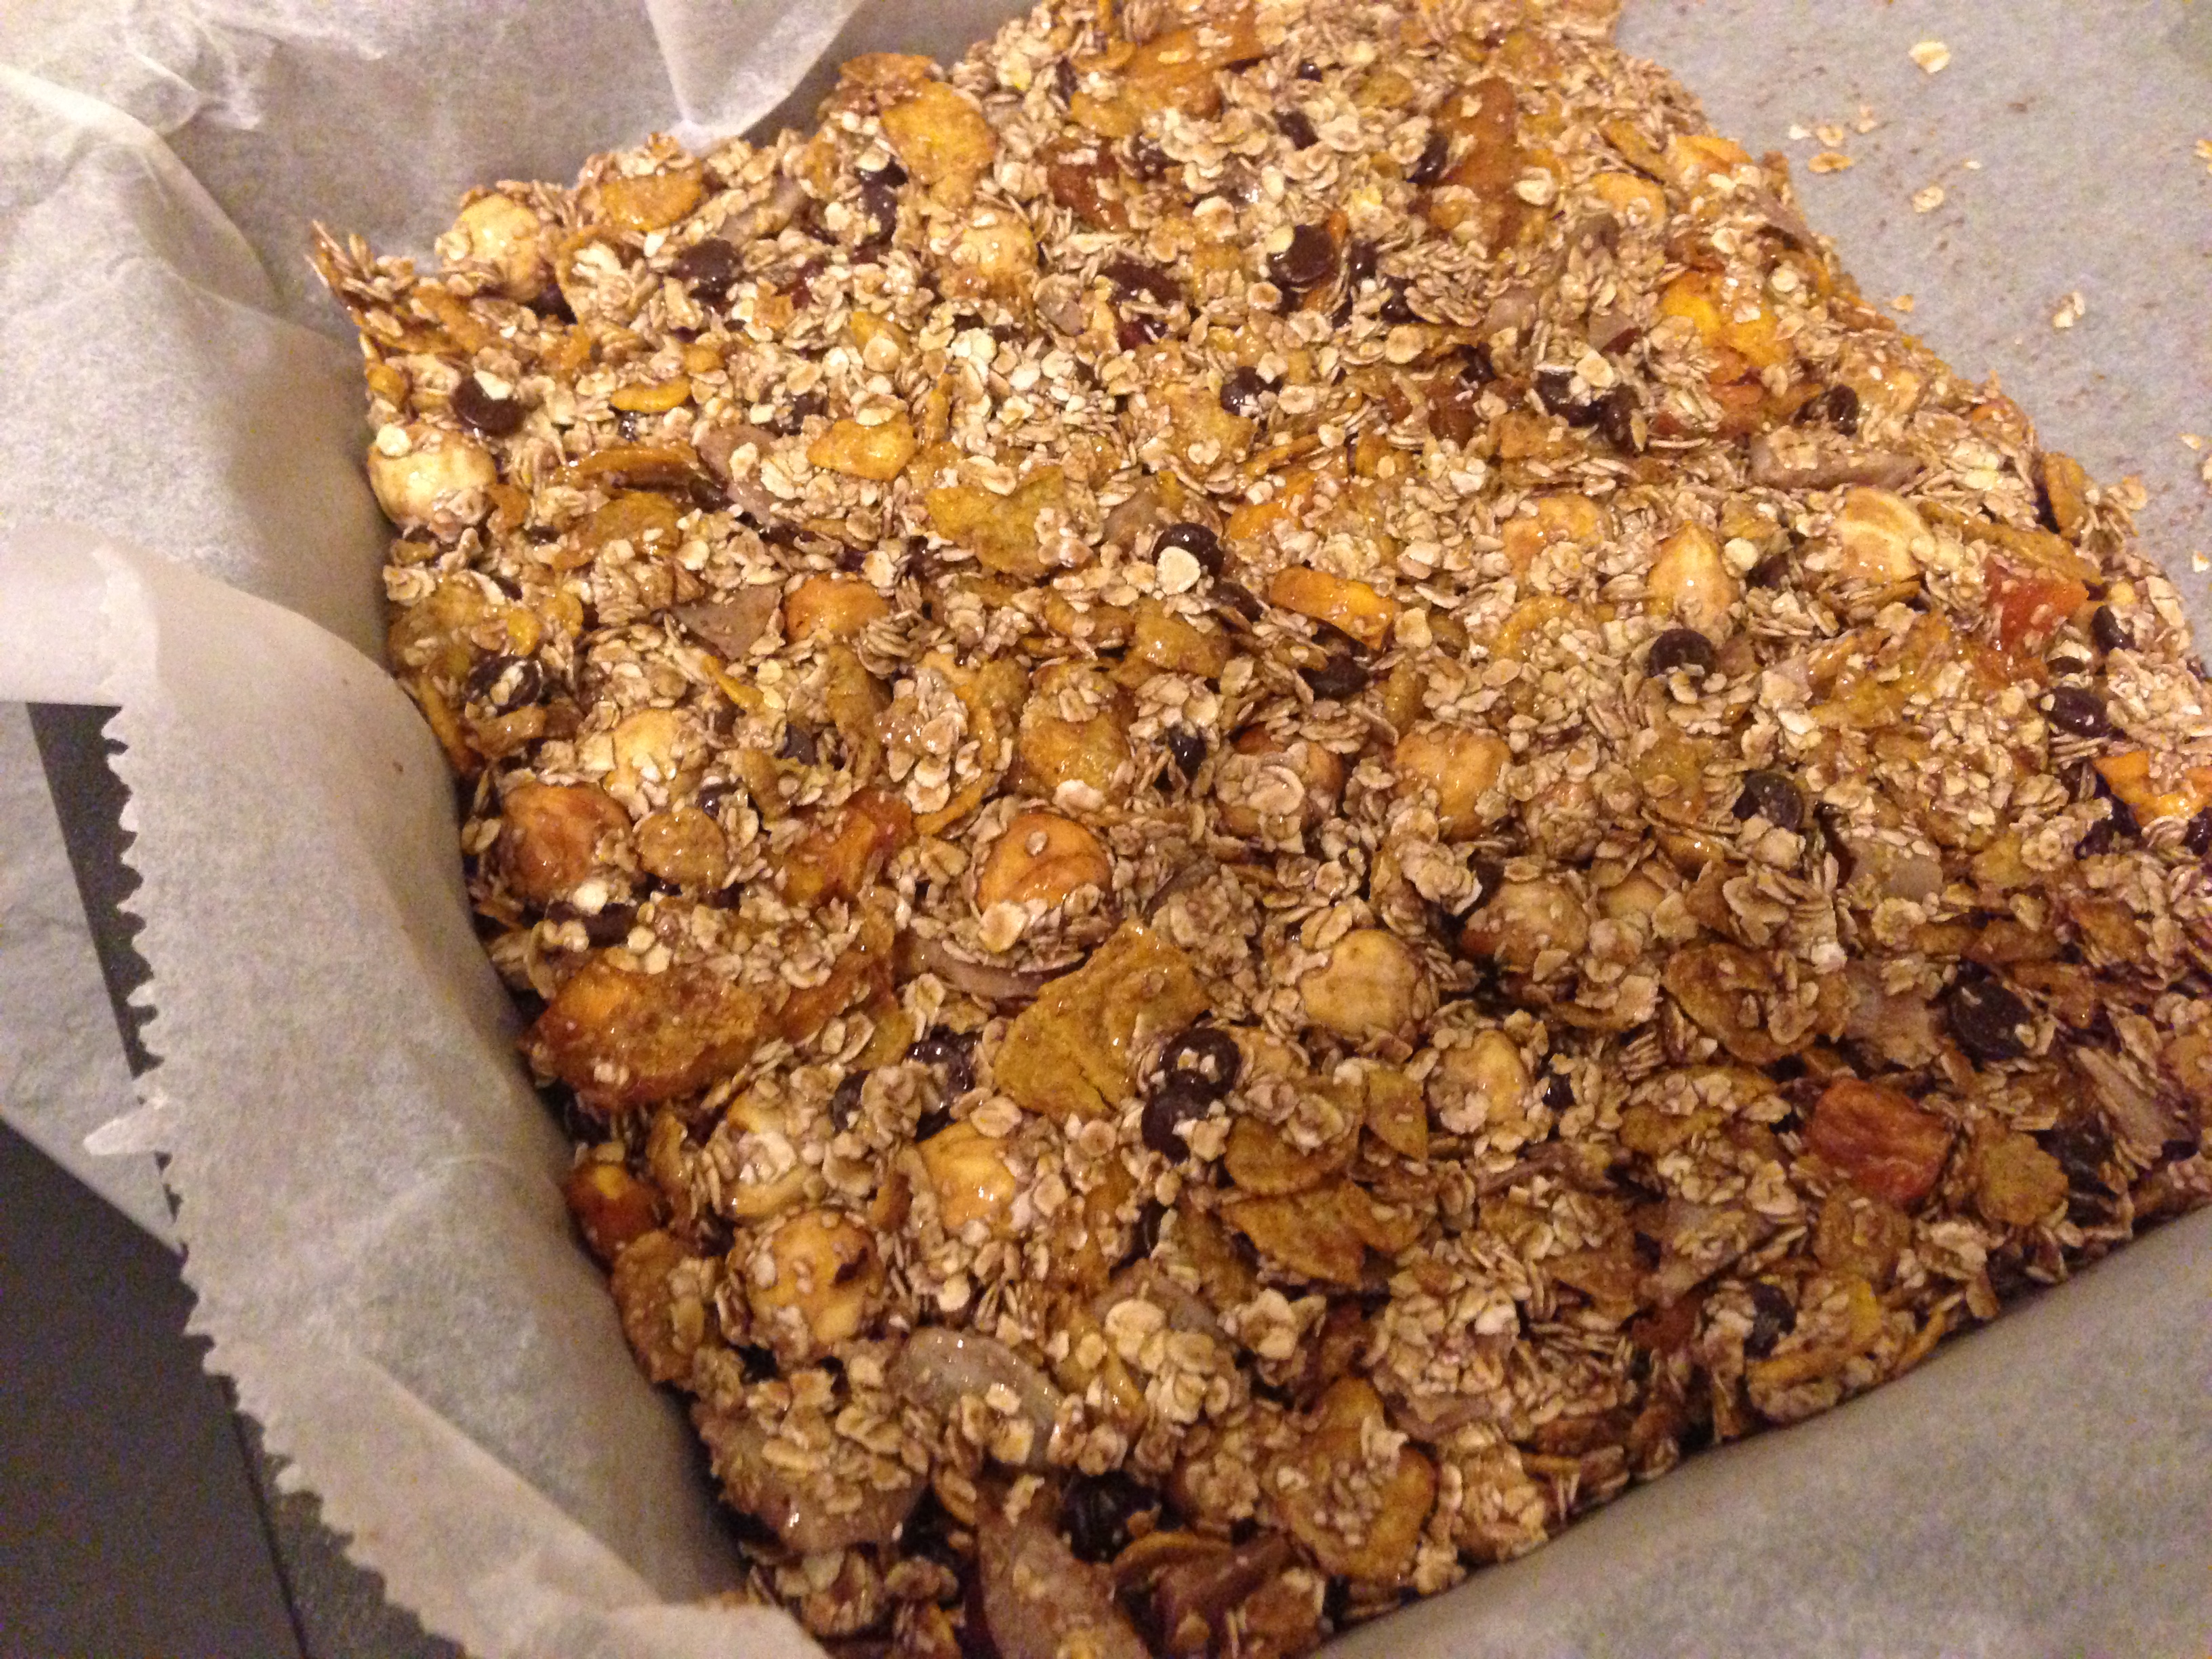
Step 5: Take the pan out of the oven and immediately (just don’t burn yourself) press down the mix once again with your spatula or the back of a spoon. This helps them to stay compact.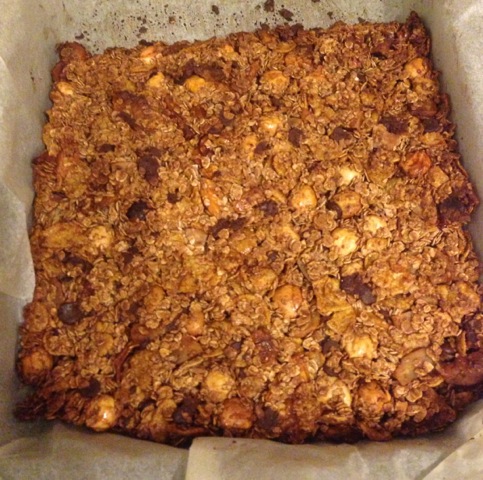
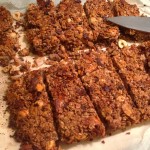
Step 6: Once the granola bars have cooled off, lift them out of the pan (now the additional parchment paper comes in handy!) and cut them with a sharp knife in bars of your desired size. I like to clean my knife after each cut to make sure it keeps cutting well. Then wrap your bars individually in e.g. saran wrap and store them in the fridge.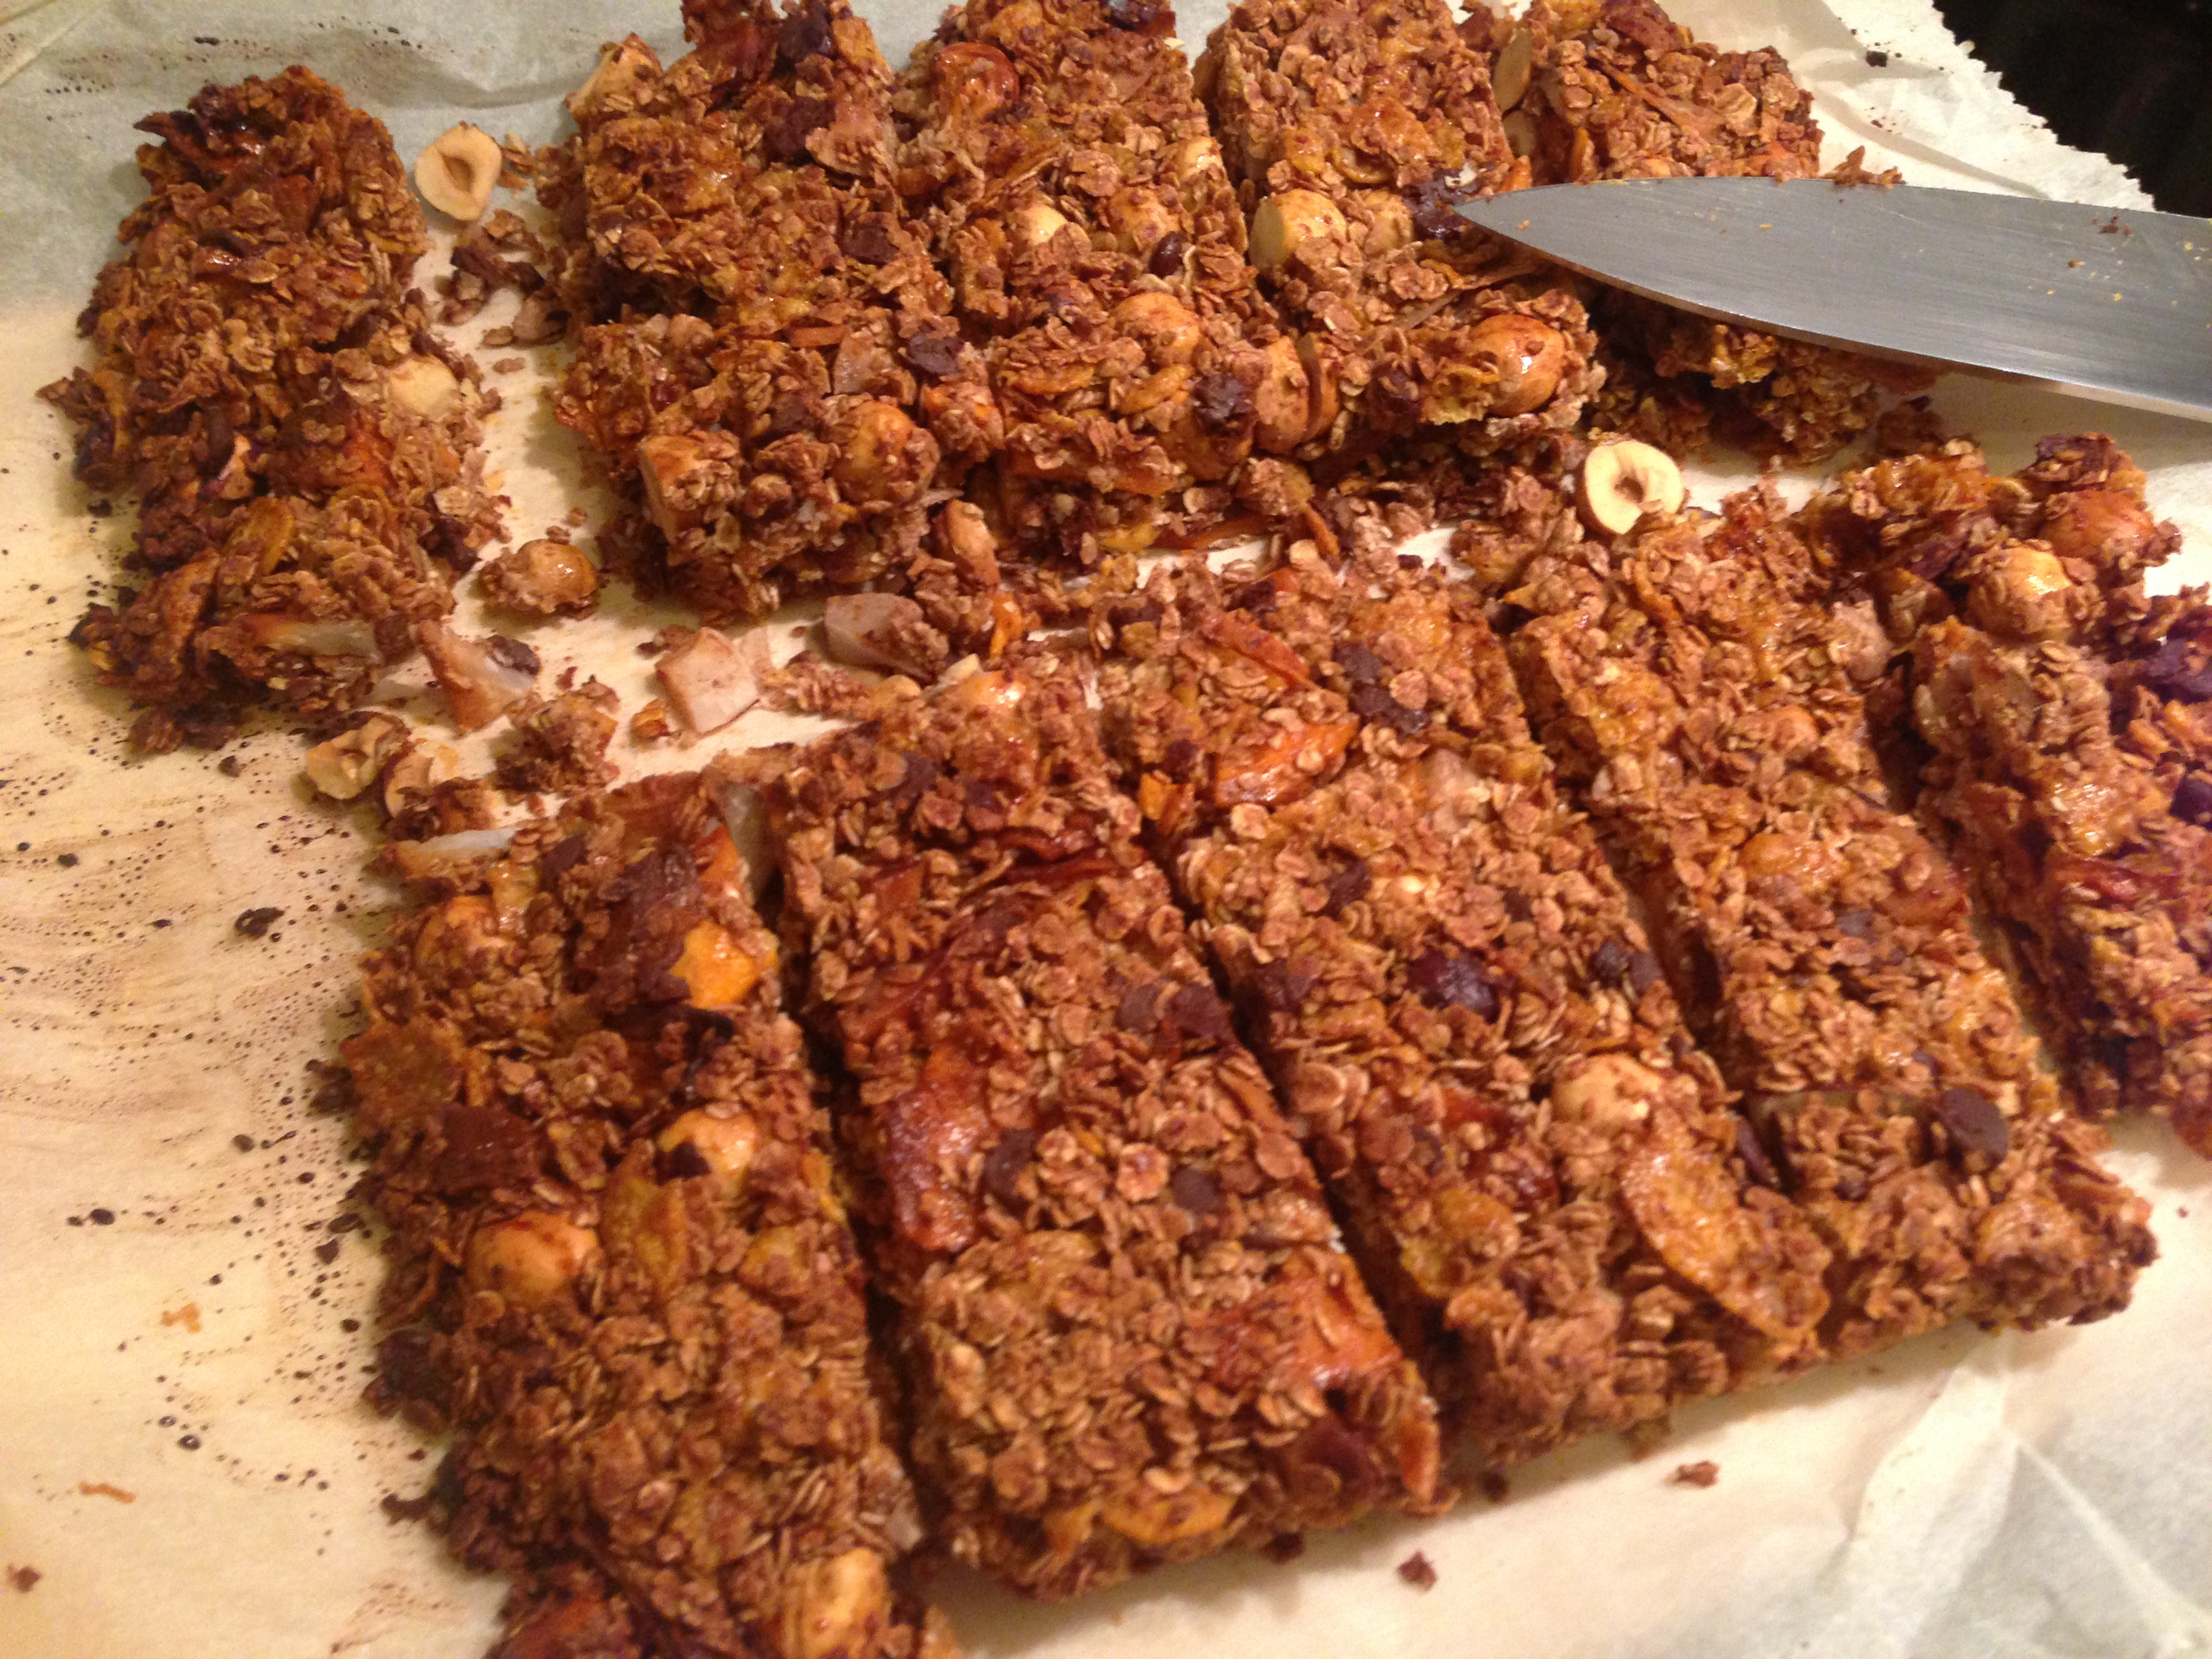
(can you see how my bars are crumbling there? Yeah, I did not use enough syrup in this batch, I adjusted the recipe above accordingly though!)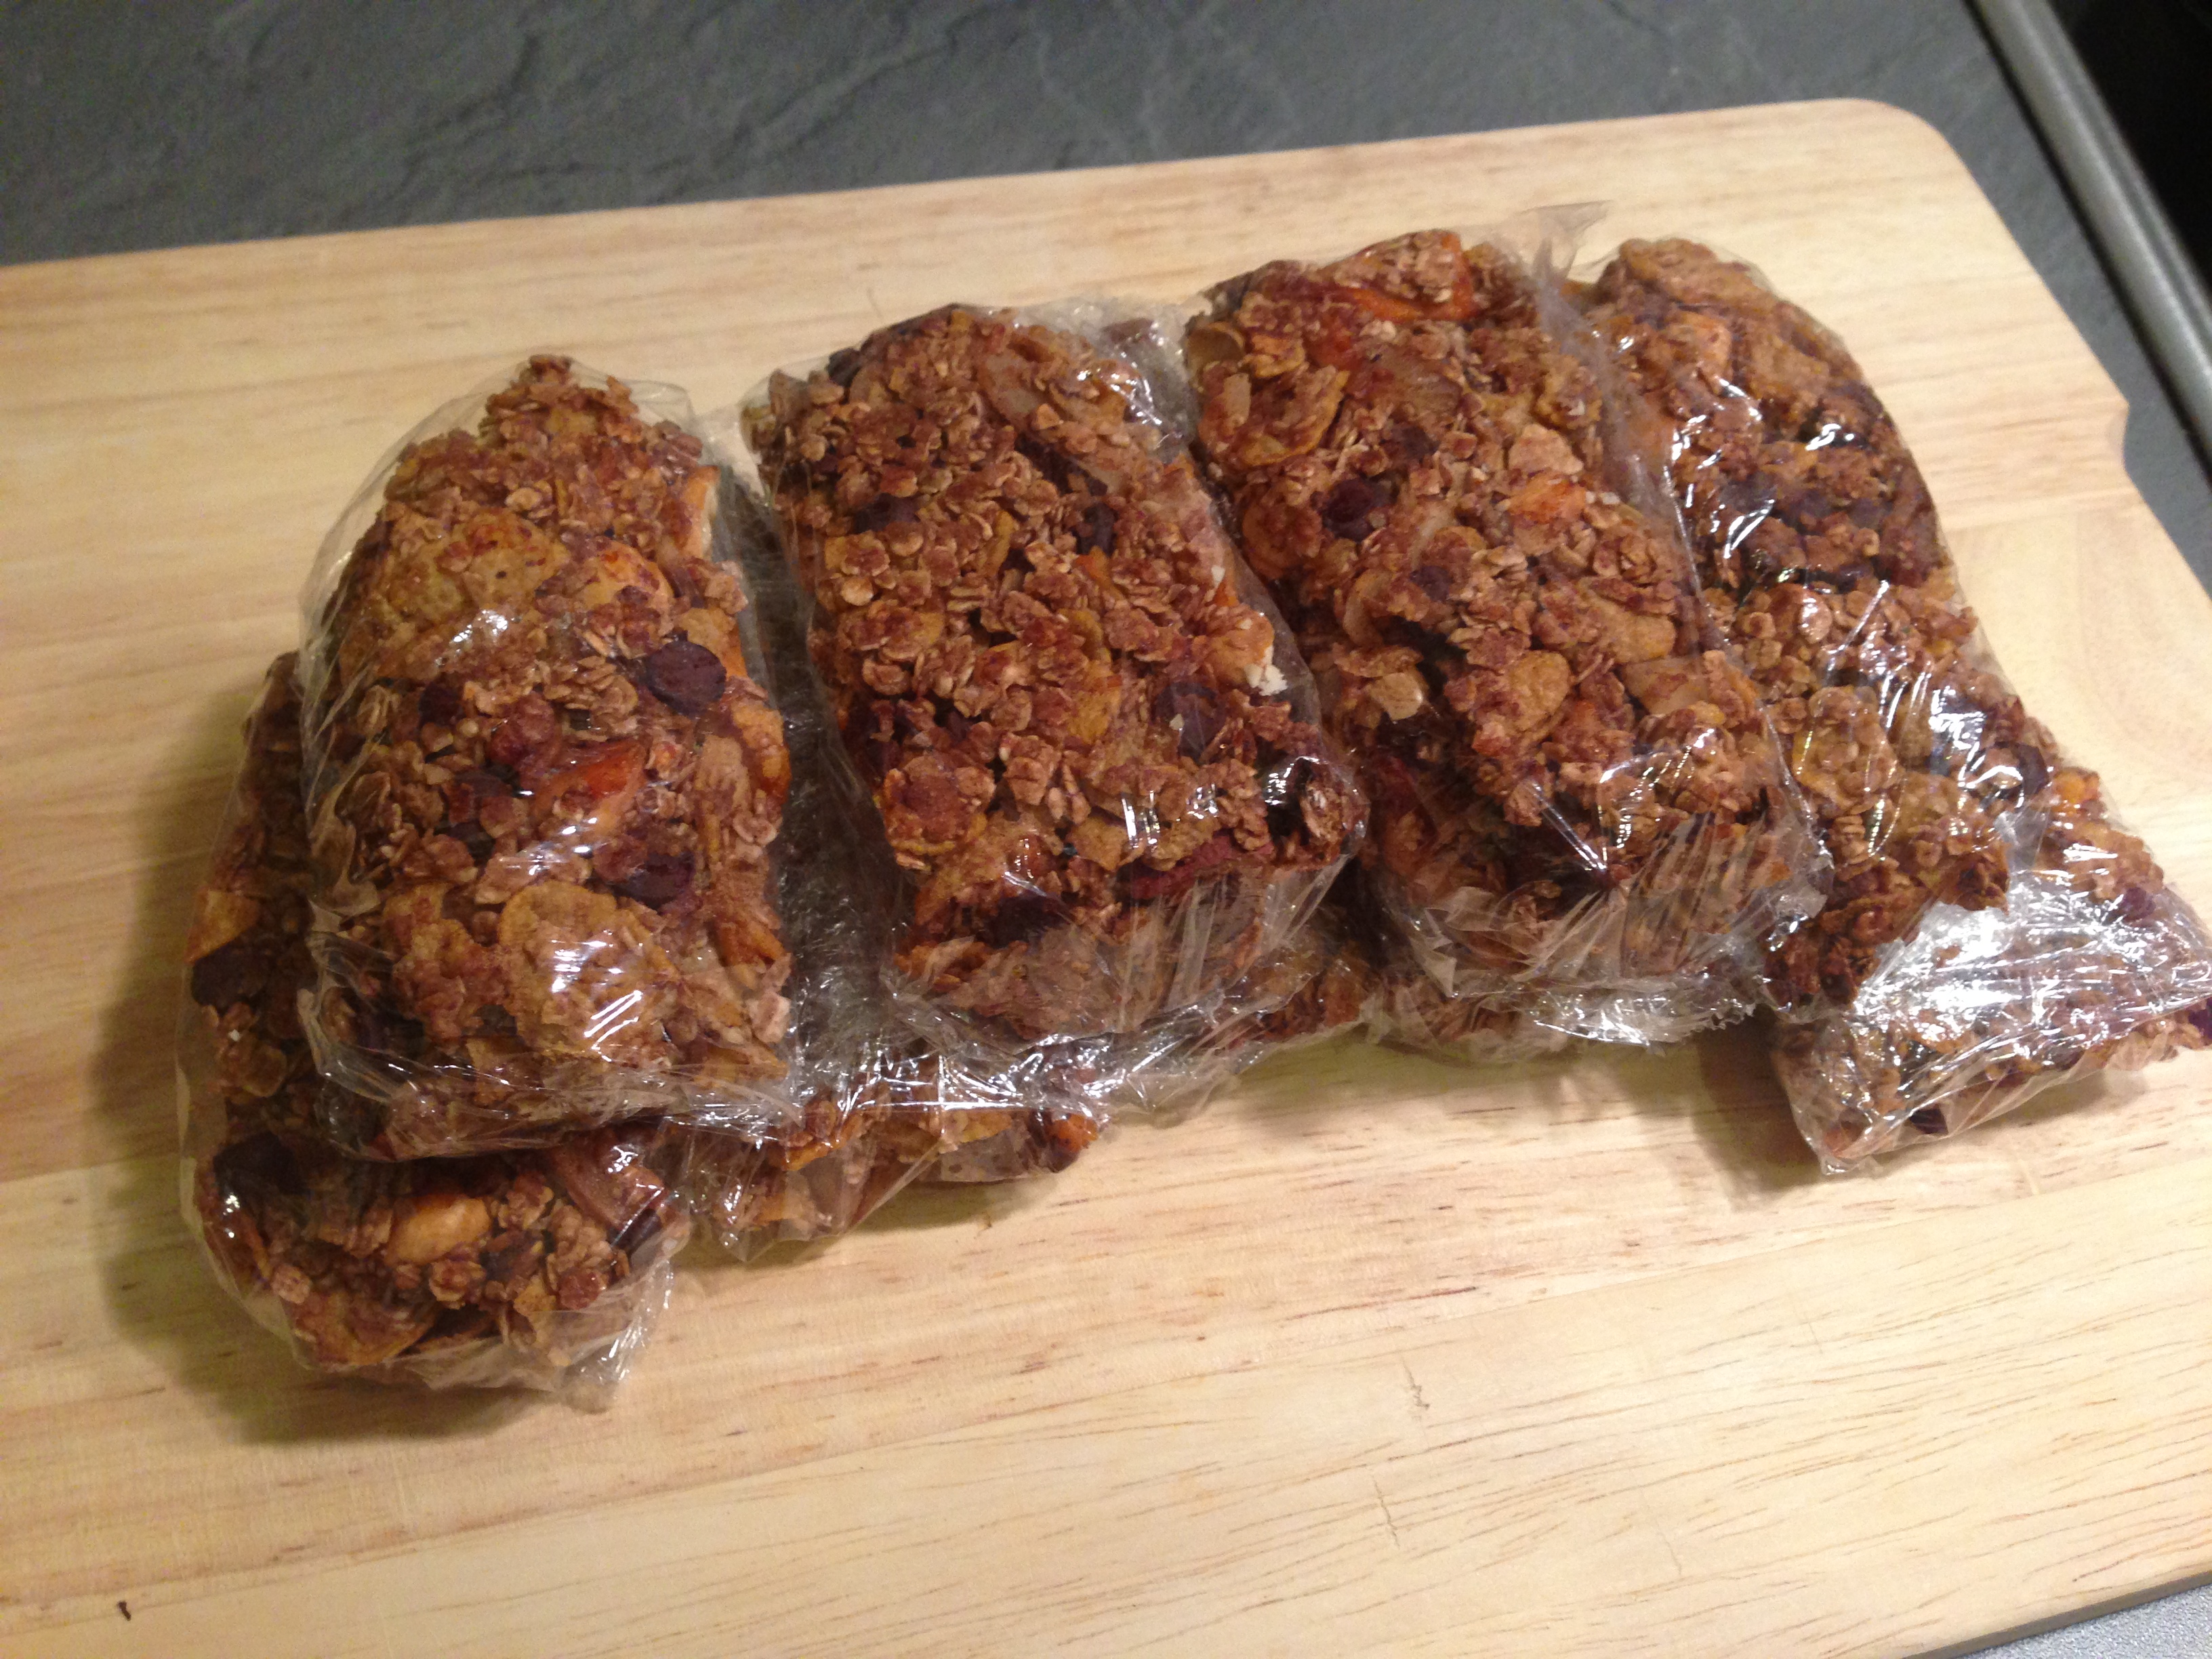
Step 7: Take bars back out of the fridge and enjoy! My bars theoretically last around one month if I have not eaten them beforehand.
(Please excuse the bad quality of my pictures, I promise to stop baking after it is dark and try to take more appealing pictures!)
My favorite combinations are:
Toasted hazelnuts + dried apricots
Toasted almonds + dried cranberries + chocolate chips
Banana chips + almond butter + chocolate chips
Dried coconut flakes+ crushed up chocolate covered pretzels
(do you see a pattern here? Everything is better with chocolate …)
So feel free to be adventurous about the mix-ins and let me know how it went! I am looking forward to hearing how the recipe worked for you, if you have any comments or ideas for future posts. I will try to post regularly and are looking forward to sharing more recipes and ideas with y’all! (oh yeah, and don’t think you are off the hook with your new years resolutions yet!)
 Based on 0 Review(s)